Installation Tips - Accurail Outside Braced (O.B.)Box Car
I like Accurail kits a lot. They are inexpensive. They go together quickly so you can get them on the track fast. If you want a more detailed model, they provide an excellent basis for details -- that you can add as time permits.
| Here's the whole kit - pretty simple really. | 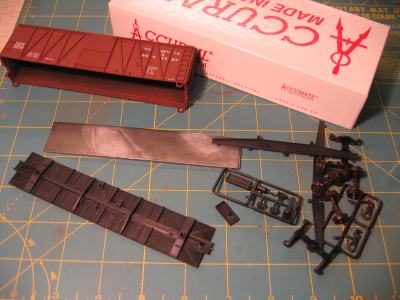 |
|
The weight on the car is steel. The Prototype Couplers uncoupling wand likes steel weights and using it can be a pain if it is attracted to the car weight. This is much more of an issue with hopper cars than it is with box cars. This is one reason I always trim the weights back if I'm given the opportunity. The other reason to trim them back is that it will make it easier to install the Sergent narrow shank couplers if I ever want to. Drilling the necessary screw holes will be easy through plastic. It's much more difficult to drill the holes in steel. Trimming the weights is easy. Just scribe a line about 1/2" back from each end of the weight and cut the ends off with a hacksaw. |
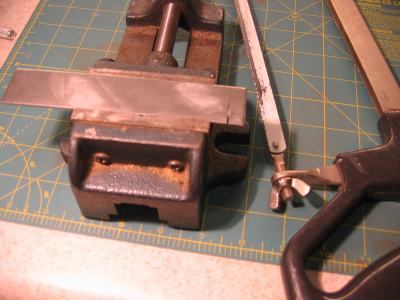 |
| Use a file to clean up any sharp edges. These weights are thicker than the ones used in the Athearn blue box kits. That just means they are harder to "unbend" if they aren't flat to start with. We'll assemble the kit so that it doesn't matter if the weight is flat or not. | 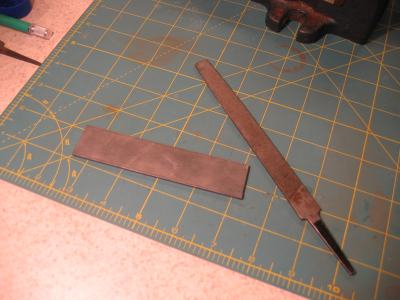 |
|
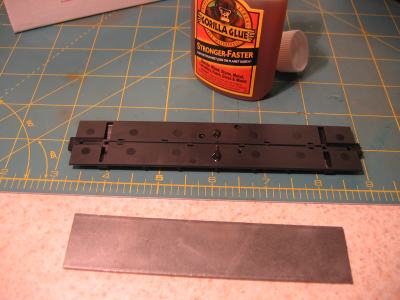
The weight may not be particularly flat, but neither is the floor. The key is to attach the two together so the floor can still flex. We don't want glue smeared all over the surfaces because that would make the assembly a rigid unit that won't flex. By limiting to glue to a line across the center of the car, we'll get an assembly where the floor is allowed to flex independent of the weight. I like to use Gorilla Glue for attaching weights. It's very different from other glues you might have used for similar purposes though. You have to be careful with it and use just a tad or it will foam out and make a mess. You also have to dampen the parts before assembly, or it will take days and days to cure. Dampen both the floor and the weight with a wet paper towel and apply glue to the floor as shown in the photo. Then set the weight in position. Center it by eye. Then leave it alone for 24 hours while it cures. Don't attempt to clamp the parts together or the glue will foam out and make a mess. |
 |
| The shell on the cars are sometimes warped. Don't let this worry you. Everything will straighten out once the floor is installed. | 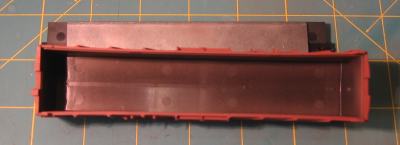 |
| Here, the floor/weight assembly is being slid into the body. There is a ledge cast into the body that the floor rest against. That will hold the floor flat. Notice how the floor is allowed to flex as it goes into position. You'll have to spread the body a little as you go. I managed to break off a stirrup step while doing this. No problem. That's easily repaired later. | 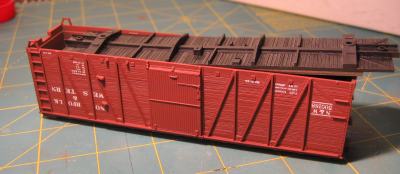 |
| Here, the center sill beams are being installed. These were a good tight fit on my model. I had to trim one of the tabs because a little of the glue holding the weight made its way into the hole that the tab goes into. | 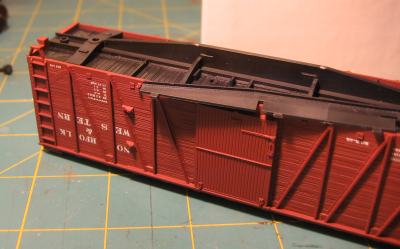 |
| Here is the model with the floor installed and details applied. Those of you with sharp eyes might notice the floor is actually backwards. The brake cylinder should always point towards the end of the car with the hand brake. I fixed that later. |  |
| Coupler installation is easy. | 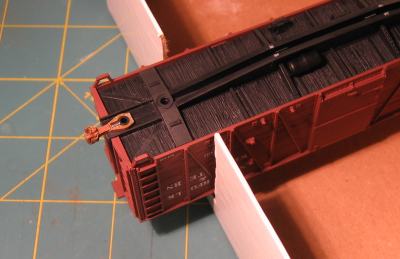 |
| The coupler box is a little shallow for Sergent coupler. There is no reason to thin the shank though. Press the lid on with just enough room for the coupler to swing side to side without binding. Then use two small dots of gap filling superglue on each side of the box as insurance that the lid won't fall off later. Superglue is used instead of plastic cement because in doesn't hold to the plastic particularly well. This will be a good thing if the coupler needs to be replaced at a later date. The lid can easily be pried off by inserting a hobby knife or screwdriver blade under the lid and twisting. | 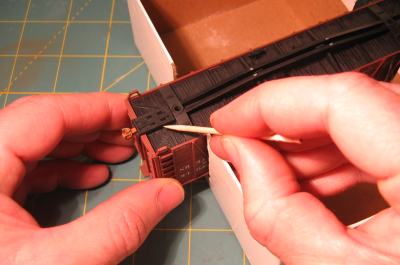 |
| This is the assembled model. The brake wheel and staff were brush painted with some Rustoleum Rusty Metal Primer that was handy. | 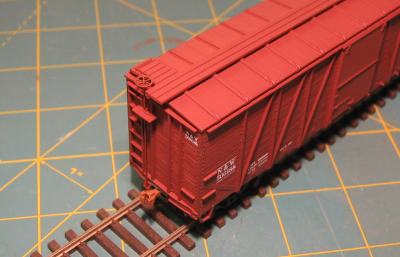 |