Installation Tips - Atlas U30C
(installing narrow shank couplers)
This Atlas model isn't really typical, because Atlas includes all the parts needed to install narrow shank couplers on this engine as well. The narrow shank couplers look very nice on the front of this engine.
| Here's the belly of the engine. This is pretty typical. The coupler is mounted in a plastic box. The box is screwed to the metal frame of the engine. Remove the mouning screw with a screwdriver and then slide the box/coupler out of the front of the engine. | 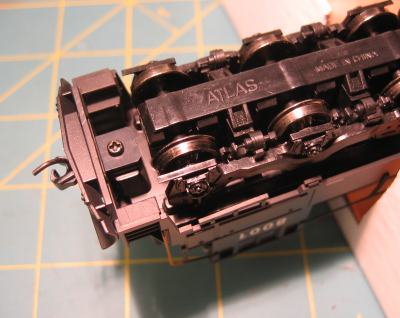 |
| Here is the box coupler removed from the engine. This engine was factory equipped with a two-part "scissor" type Accumate coupler. | 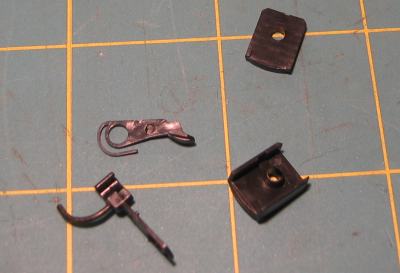 |
| Now go find the little baggie of extra parts that came with the loco. This is the same baggie that had the old hook-horn couplers in it. You'll find narrow coupler boxes in there as well! This picture compares the narrow boxes with the ones installed on the loco from the factory. | 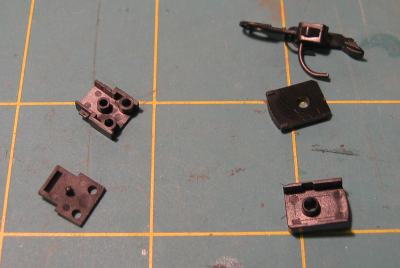 |
| The narrow boxes included with the model were actually provided so Accurail scale size couplers could be installed. To install Prototype Couplers couplers the boxes must be trimmed slightly for clearance. Use a hobby knife to cut away part of the box interior so it looks like the one in the next picture. | 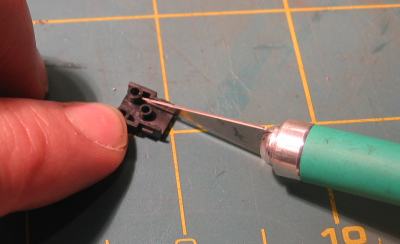 |
| This is what the box should look like after trimming. | 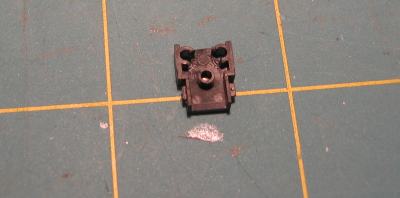 |
| If you bought your narrow shank couplers already assembled, you'll have to remove the coupler from the draft gear box. The two halves of the box are just pressed together and can easily be separated with a screwdriver or hobby knife. Once the box lid is removed, pull the coupler out carefully to avoid loosing the spring. | 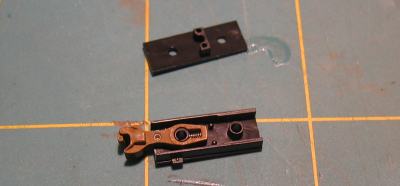 |
| Now test fit the coupler in the box to make sure the trimming operation worked as intended. The coupler should swing completely to each side of the box. If it doesn't trim a little more wherever the interference is. | 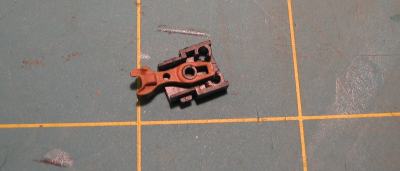 |
| Once the coupler swings freely, its time to install the coupler for real. Start by positioning the spring as shown in the picture. | 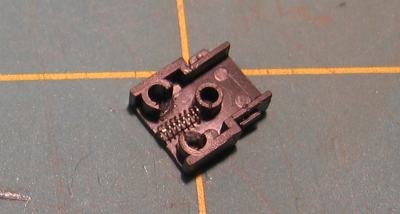 |
| Position the coupler at an angle so the rear of it catches the spring then push the coupler forward and slip it over the post. | 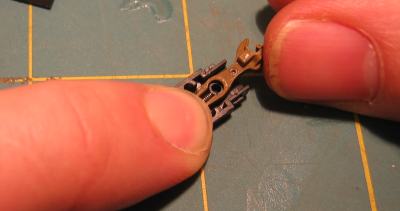 |
| Here is the coupler mounted in the box. | 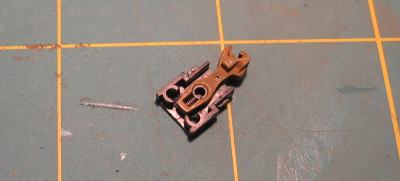 |
| Once the coupler is mounted in the box, add the lids. These just press on. The screws shown here came from the little baggie supplied by Atlas with the loco. Those guys are really thoughtful. | 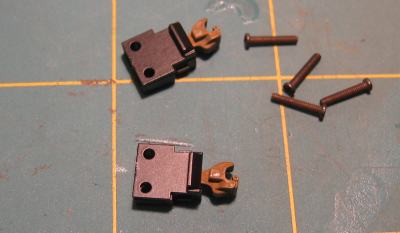 |
| Push the box/coupler assembly back through the front of the loco and attach it to the frame with the two screws supplied by Atlas. | 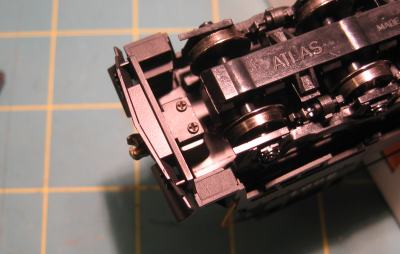 |
| Here is the final product. The picture doesn't do it justice. It really looks great. |  |