Installation Tips - InterMountain/Tichy Single Sheathed Boxcar
This model is a nice representation of a rebuilt USRA single sheathed boxcar. Veteran modelers will notice that the InterMountain model is the same as the Tichy kit, so these instructions will apply to both. This conversion is super-simple so it's a good one to start with.
| Start by placing the model in a cradle so it won't fall over. I've seen some very nice cradles offered, but for me this cardboard box works just find. | 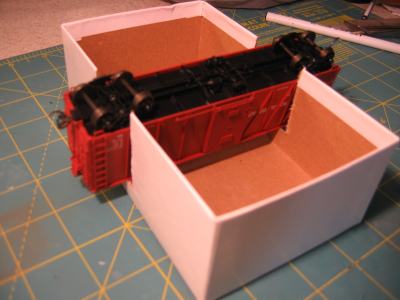 |
| Here's what the belly of the car looks like before we start. The truck will have to be removed first with a small phillips screwdriver. | 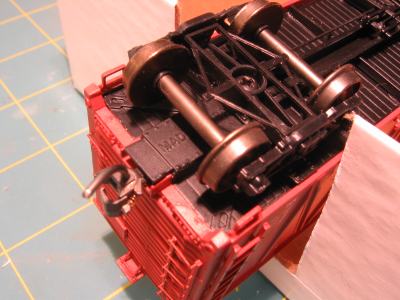 |
| Once the truck is removed, we see there is no obvious way to remove the lid for the coupler pocket! | 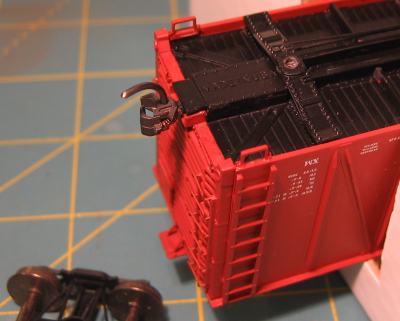 |
| When in doubt, pry a little with a hobby knife. The lid actually pops right off. It appears to have been held in place by a combination of press fit and just a tad of glue. | 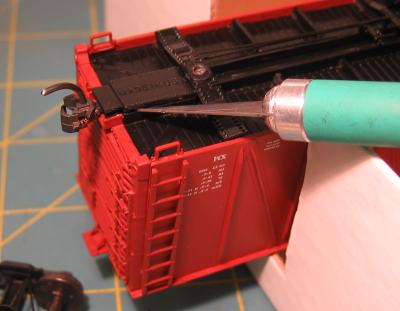 |
| Here we are with the lid off. Remove the coupler and the bronze centering spring. You might have to pry the spring out with a hobby knife since the glue holding the lid probably got to the spring as well. | 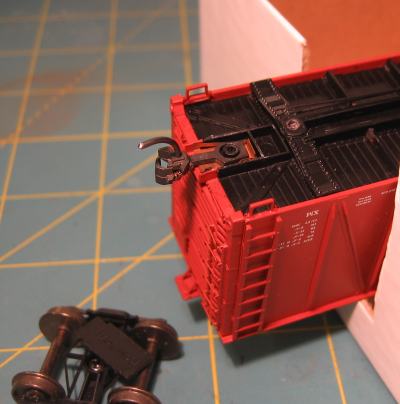 |
|
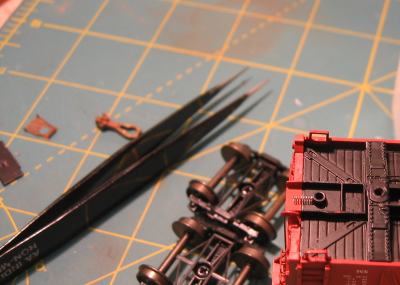
Once the old coupler is removed, use non-magnetic tweezers to place the friction spring for the Prototype Couplers coupler. There are tweezers and then there are "non-magnetic" tweezers. Non-magnetic means that the tweezers won't become magnetic if they are exposed to a magnetic field (like the one surrounding the earth). You want the "non-magnetic" variety. Otherwise, the spring will stick to the tweezers and you'll be trying to shake it loose. The non-magnetic variety will almost always have something to that effect printed on them. Don't assume that stainless steel tweezers are non-magnetic because stainless steel is non-magnetic. Not all stainless steel is non-magnetic. I found some nice non-magnetic tweezers at a train show. I have also seen similar selections at flea markets. It's good to see how they feel in your hand before purchasing. You don't want tweezers that require significant force to operate. Too much force will cause the springs to fly away (you'll put your eye out!). If you don't typically attend train shows or flea markets, you can buy a set of good tweezers from McMaster-Carr PN 5669A12. These will set you back about 10 bucks by the time you pay shipping charges. |
 |
| Once the spring is in place position the coupler as shown. Use your index finger to cover the keyhole in the coupler shank so the spring can't fly out. Then push the coupler back to compress the spring ever so slightly and let the coupler drop over the mounting post. Move the coupler back an forth a few times to seat the spring before removing your finger. This is much easier to do than it is to explain. | 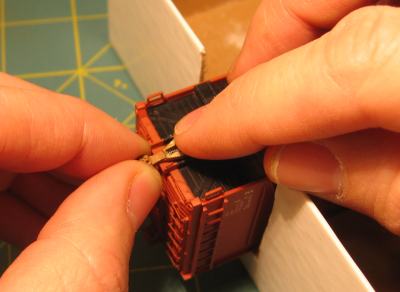 |
| Here is the coupler in place. Push the lid back on and add a couple of dots of super glue to the seam between the lid and the box to secure it. | 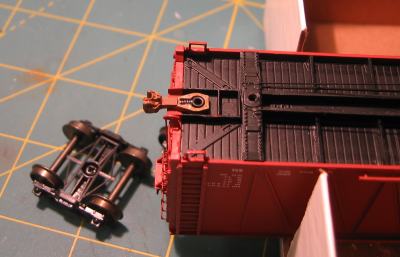 |
| Screw the trucks back on and that's it. Done! | 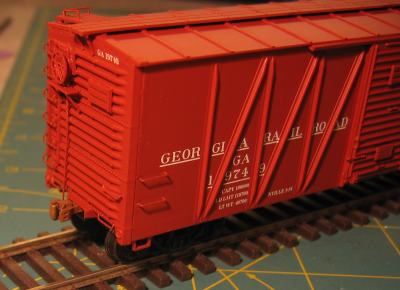 |