Installation Tips - Proto2000 Type 21 Tank Car
I like this model a lot. I'm impressed with it every time I look at it. If some one out there on the interweb knows of a reason why it's not prototypical, don't tell me. I don't want to know.
Conversion to Prototype Couplers couplers is mostly by the book. Note that these cars predate the use of shelf couplers by quite a few years.
| Here's the model with truck removed in preparation for the coupler swap. The "springs" sticking out of the sides of the draftgear box represent those present on Cardwell draft gear setup that were common in the era of this car - very cool. | 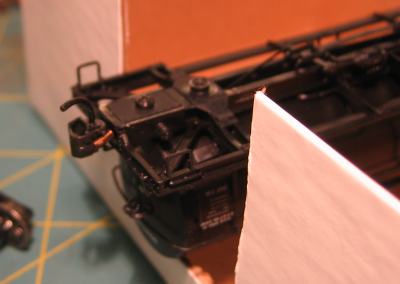 |
| When the coupler screw is removed, the lid comes off, and the old coupler comes out, everything looks all to familiar. Once the bronze centering spring is removed, we see something new. The bottom of the coupler box isn't flat. It's got all sorts of ribs and cavities in it. The previously covered method of installing friction springs won't work here because its impossible to put the friction spring in place before the coupler goes in. | 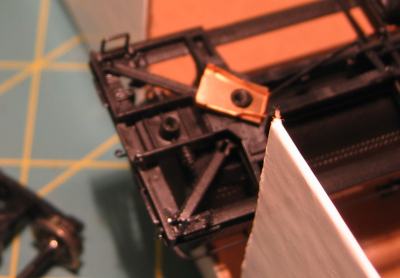 |
| The coupler will have to go on first in this case. Then hold the friction spring by putting a hobby knife blade into the very end of the spring where the coils of the come together. | 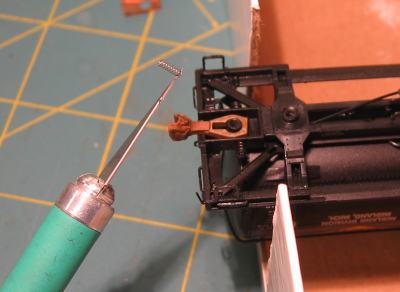 |
| Next, insert the spring into its final location. Let your finger trap the spring while you remove the knife. Note that my finger isn't really covering the spring in the picture as it should be - but if it was, you couldn't see what was going go. | 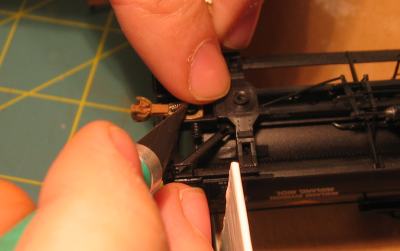 |
| Tah Dah! Spring is in on the first try. | 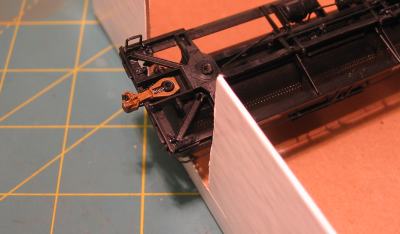 |
| All that is left to do is replace the coupler lid and replace the trucks. | 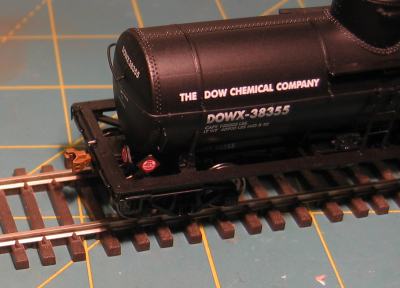 |