Painting Tips
This page provides simple instructions for painting castings that come with the couplers supplied as kits. It's easier than you might think...
|
The "secret" is Rustoleum's Rusty Metal Primer. This is great stuff. It's just the right color and has a dead flat finish. It's available in spray cans and pints and quarts. You can find it just about anywhere (including Walmart). |
 |
|
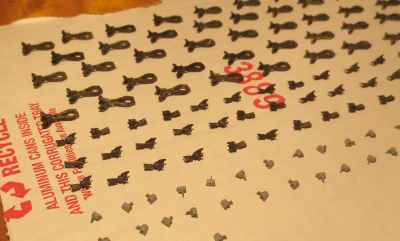
Start by spreading out the castings on a piece of cardboard. Turn all the parts so the outer side is up as shown in the picture. This is the slow part of the process. Don't worry about the other side - paint can cause problems there. |
 |
|
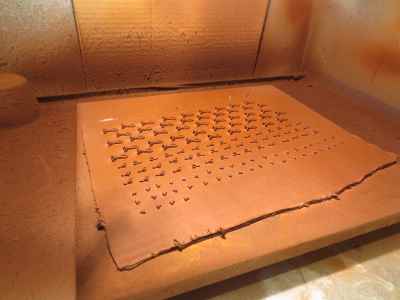
Hit the batch of couplers with a few light passes. Then turn 90 degrees and repeat. Repeat 4 times and you're done. Work goes quickly. Move the cardboard somewhere where it won't be disturbed for a couple of days to let the paint cure fully. The actual painting can be done in a paint booth or outdoors works just as well. |
 |
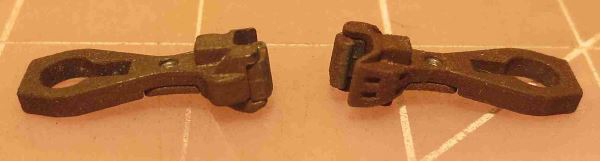
As applied, the Rustoleum paint has a rough surface. Once the couplers are assembled, pencil lead is applied for lubrication, and the couplers have gone through the break-in procedure, use a stiff paintbrush to polish the painted surfaces. This will smooth the rough finish, lighten it slightly, and blend the pencil lead. The picture gives a before and after comparision. The coupler on the left has been "polished". The one on the right still has its original rough finish. The picture really doesn't do justice to the difference that this operation makes. Try it. You'll be impressed. |
|