Installation Instructions - ET2P87A
This webpage serves as installation instructions for Prototype Coupler's Tailor Made BLI PRR Drop Couplers. No printed instructions are provided with the kits. These couplers come full assembled and ready for installation. This has been tested with BLI Paragon4 Brass-Hybrid PRR S2 Turbine, BLI Paragon4 Brass-Hybrid PRR Q2, and BLI Paragon3 PRR T1. This may fit other BLI Locomotives but are untested by Prototype Couplers. We will update this list as we try other locos.
|
These instructions cover the installation of our Tailor Made Broadway Limited Imports PRR Drop Coupler. |
 |
|
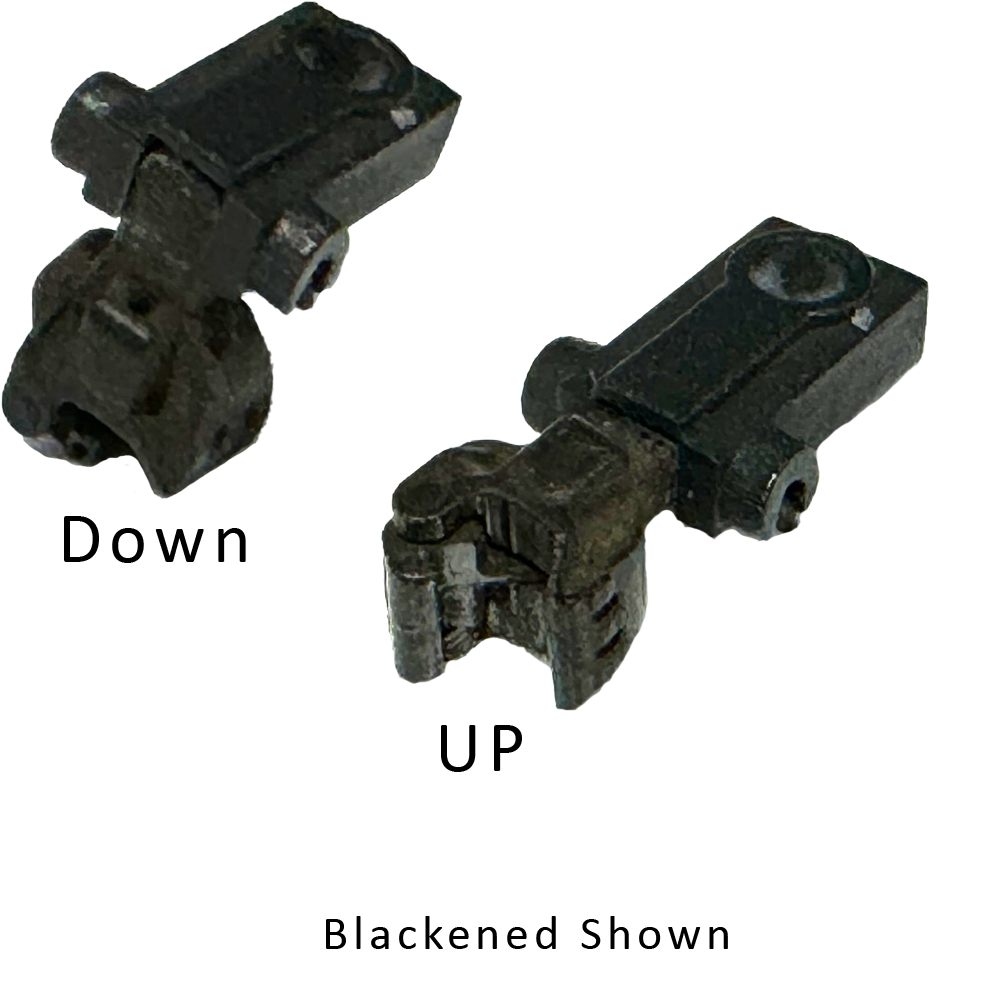
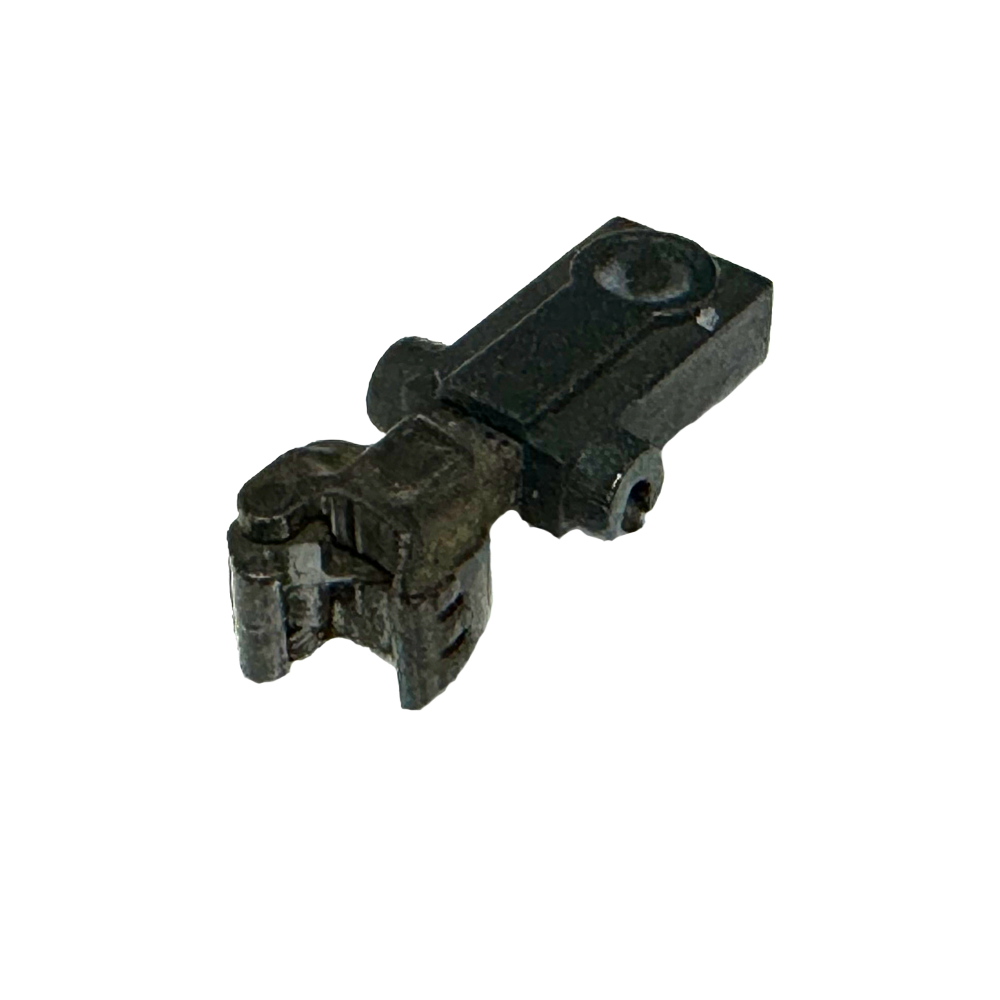
This is what comes in your kit, 1 Fully Assembled Drop Coupler with Mounting Box. Before installing into your locomotive you should paint and weather the coupler now as desired. You should follow our break-in prodedures as normal, as these are not broken in to allow for the end user to paint and weather their coupler as desired. |
 |
|
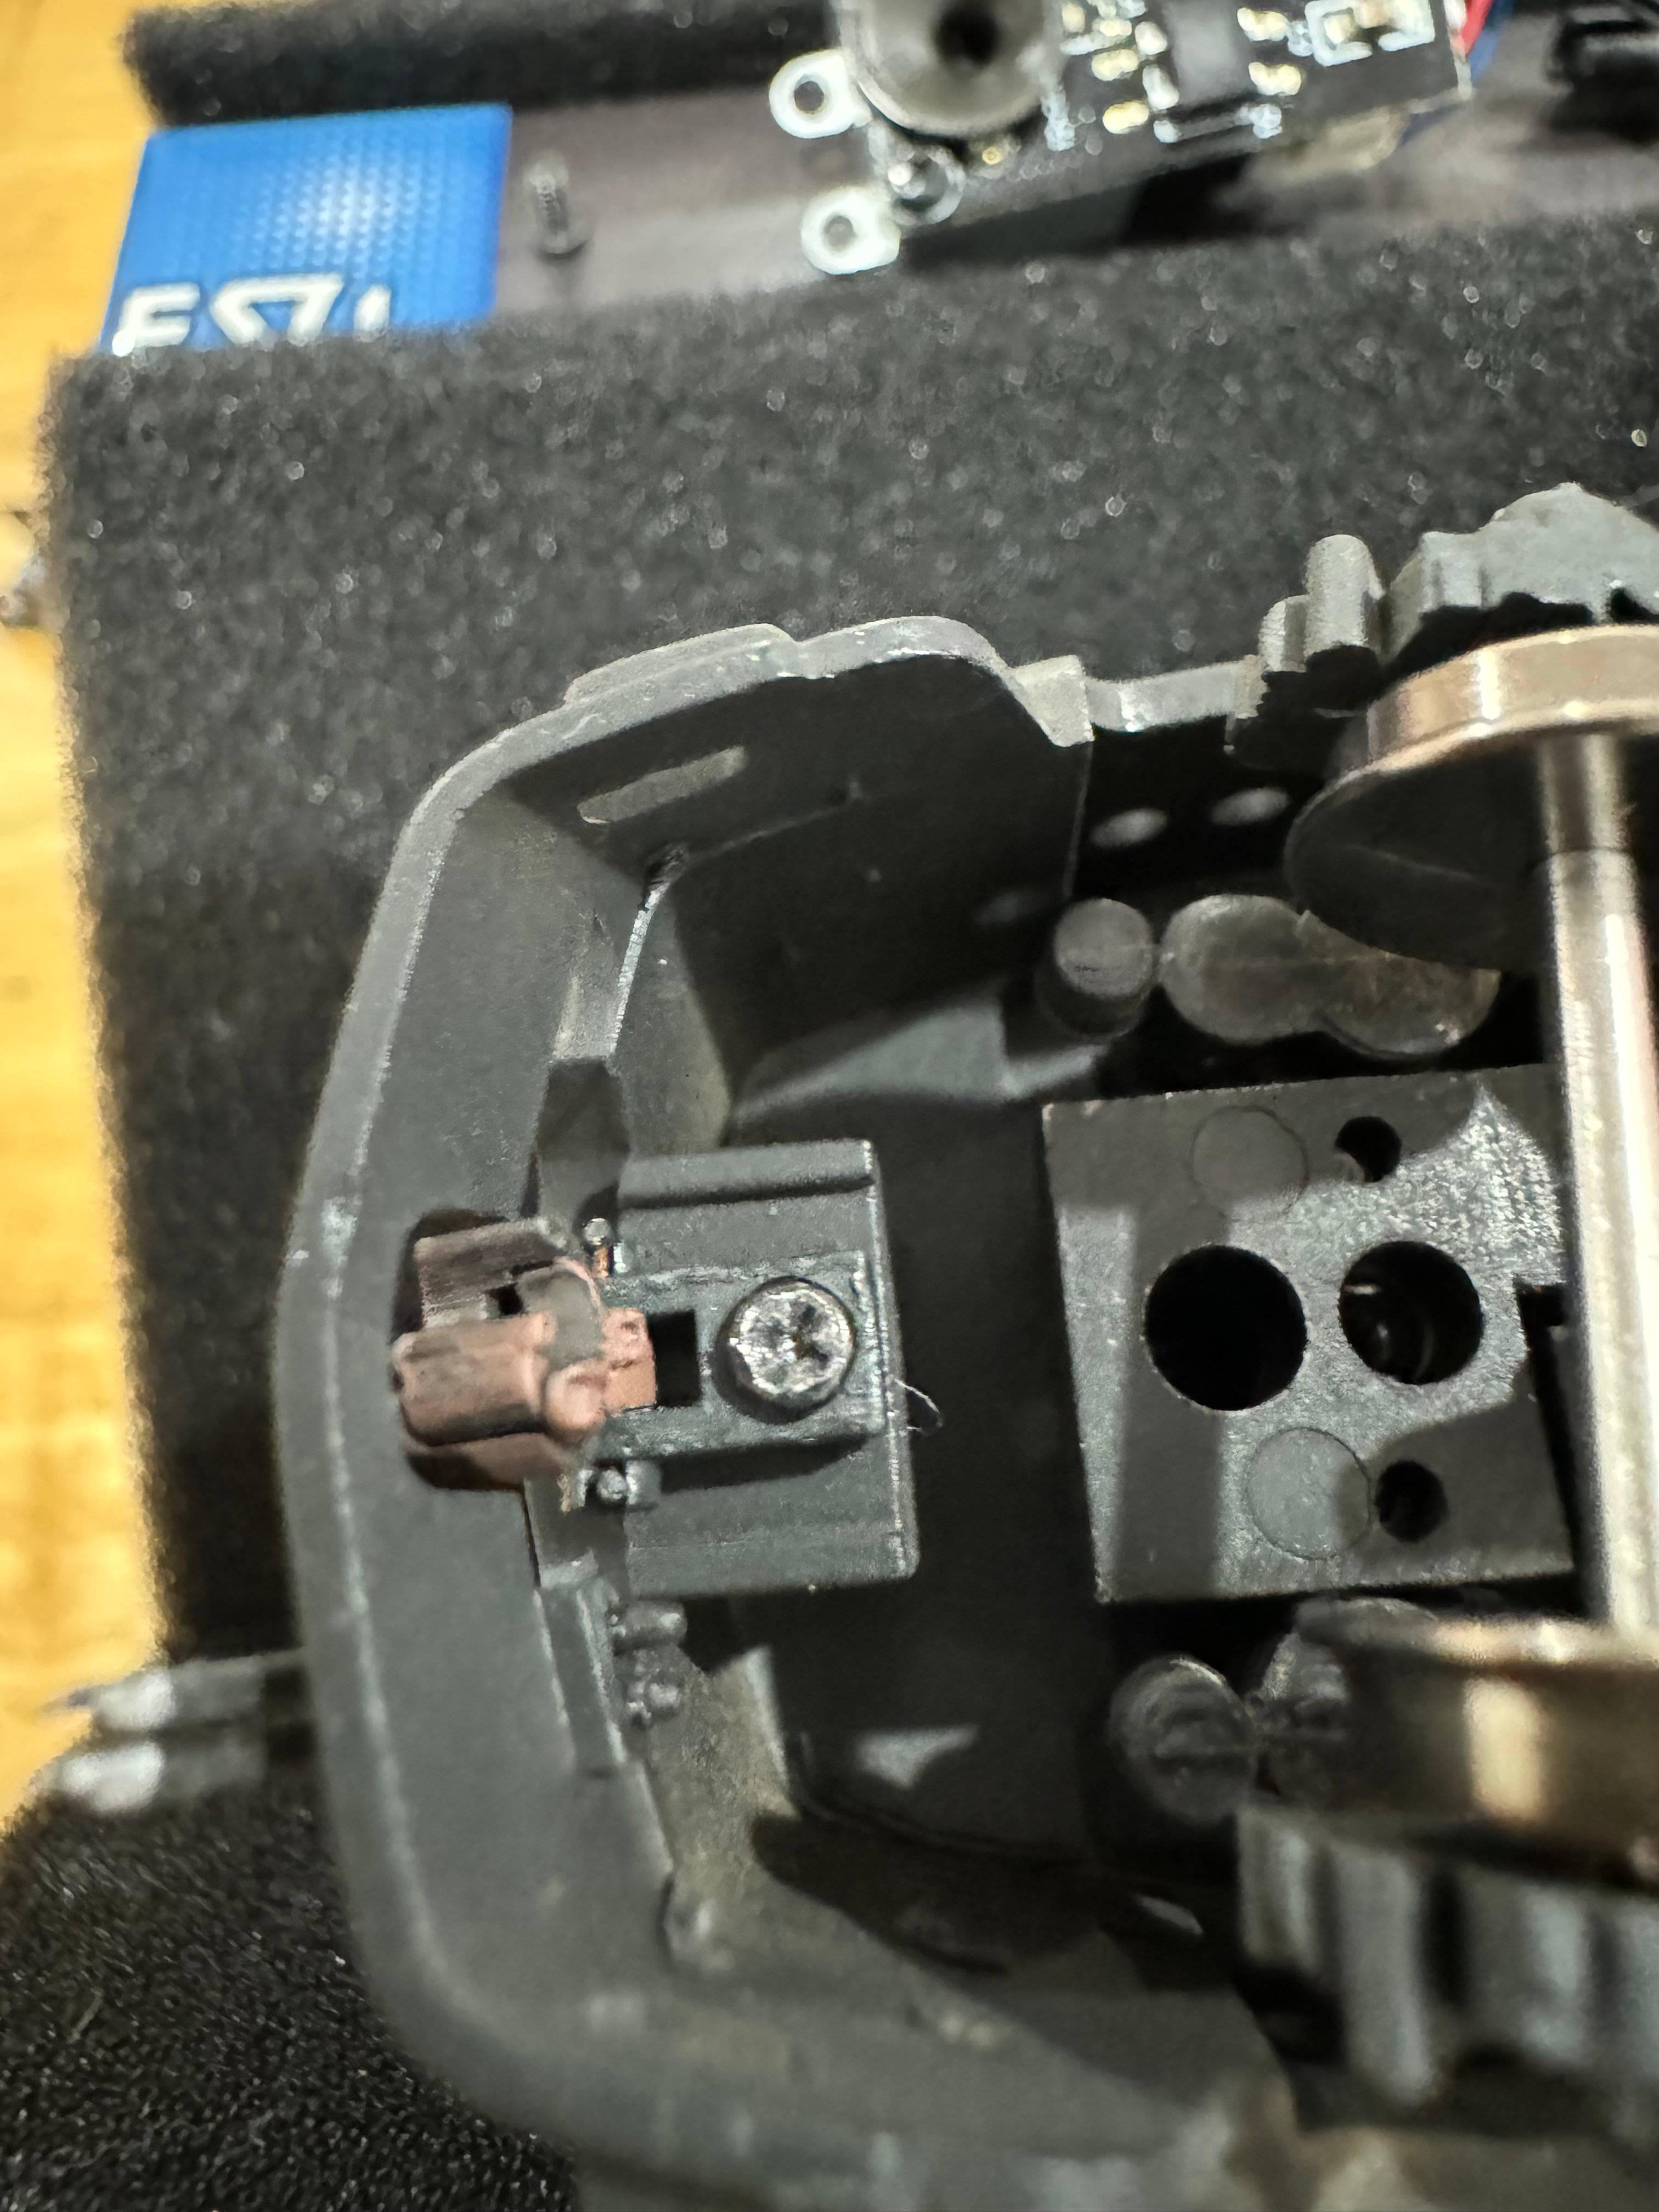
To install this coupler you should first unscrew and remove the current front pilot from your model. To install this unit please make sure that the unit is oriented to drop down instead of up and is facing the front of the locomotive. Then screw this unit into place using the same hole and screw that is used to hold the factory pilot in place. If you want your pilot to have a swing to it for operations please use a little loctite at the end of the screw and do not over tighten, so that the box can swing from side to side. For Paragon3 PRR T1 users please read the optional step below. |
  |
|
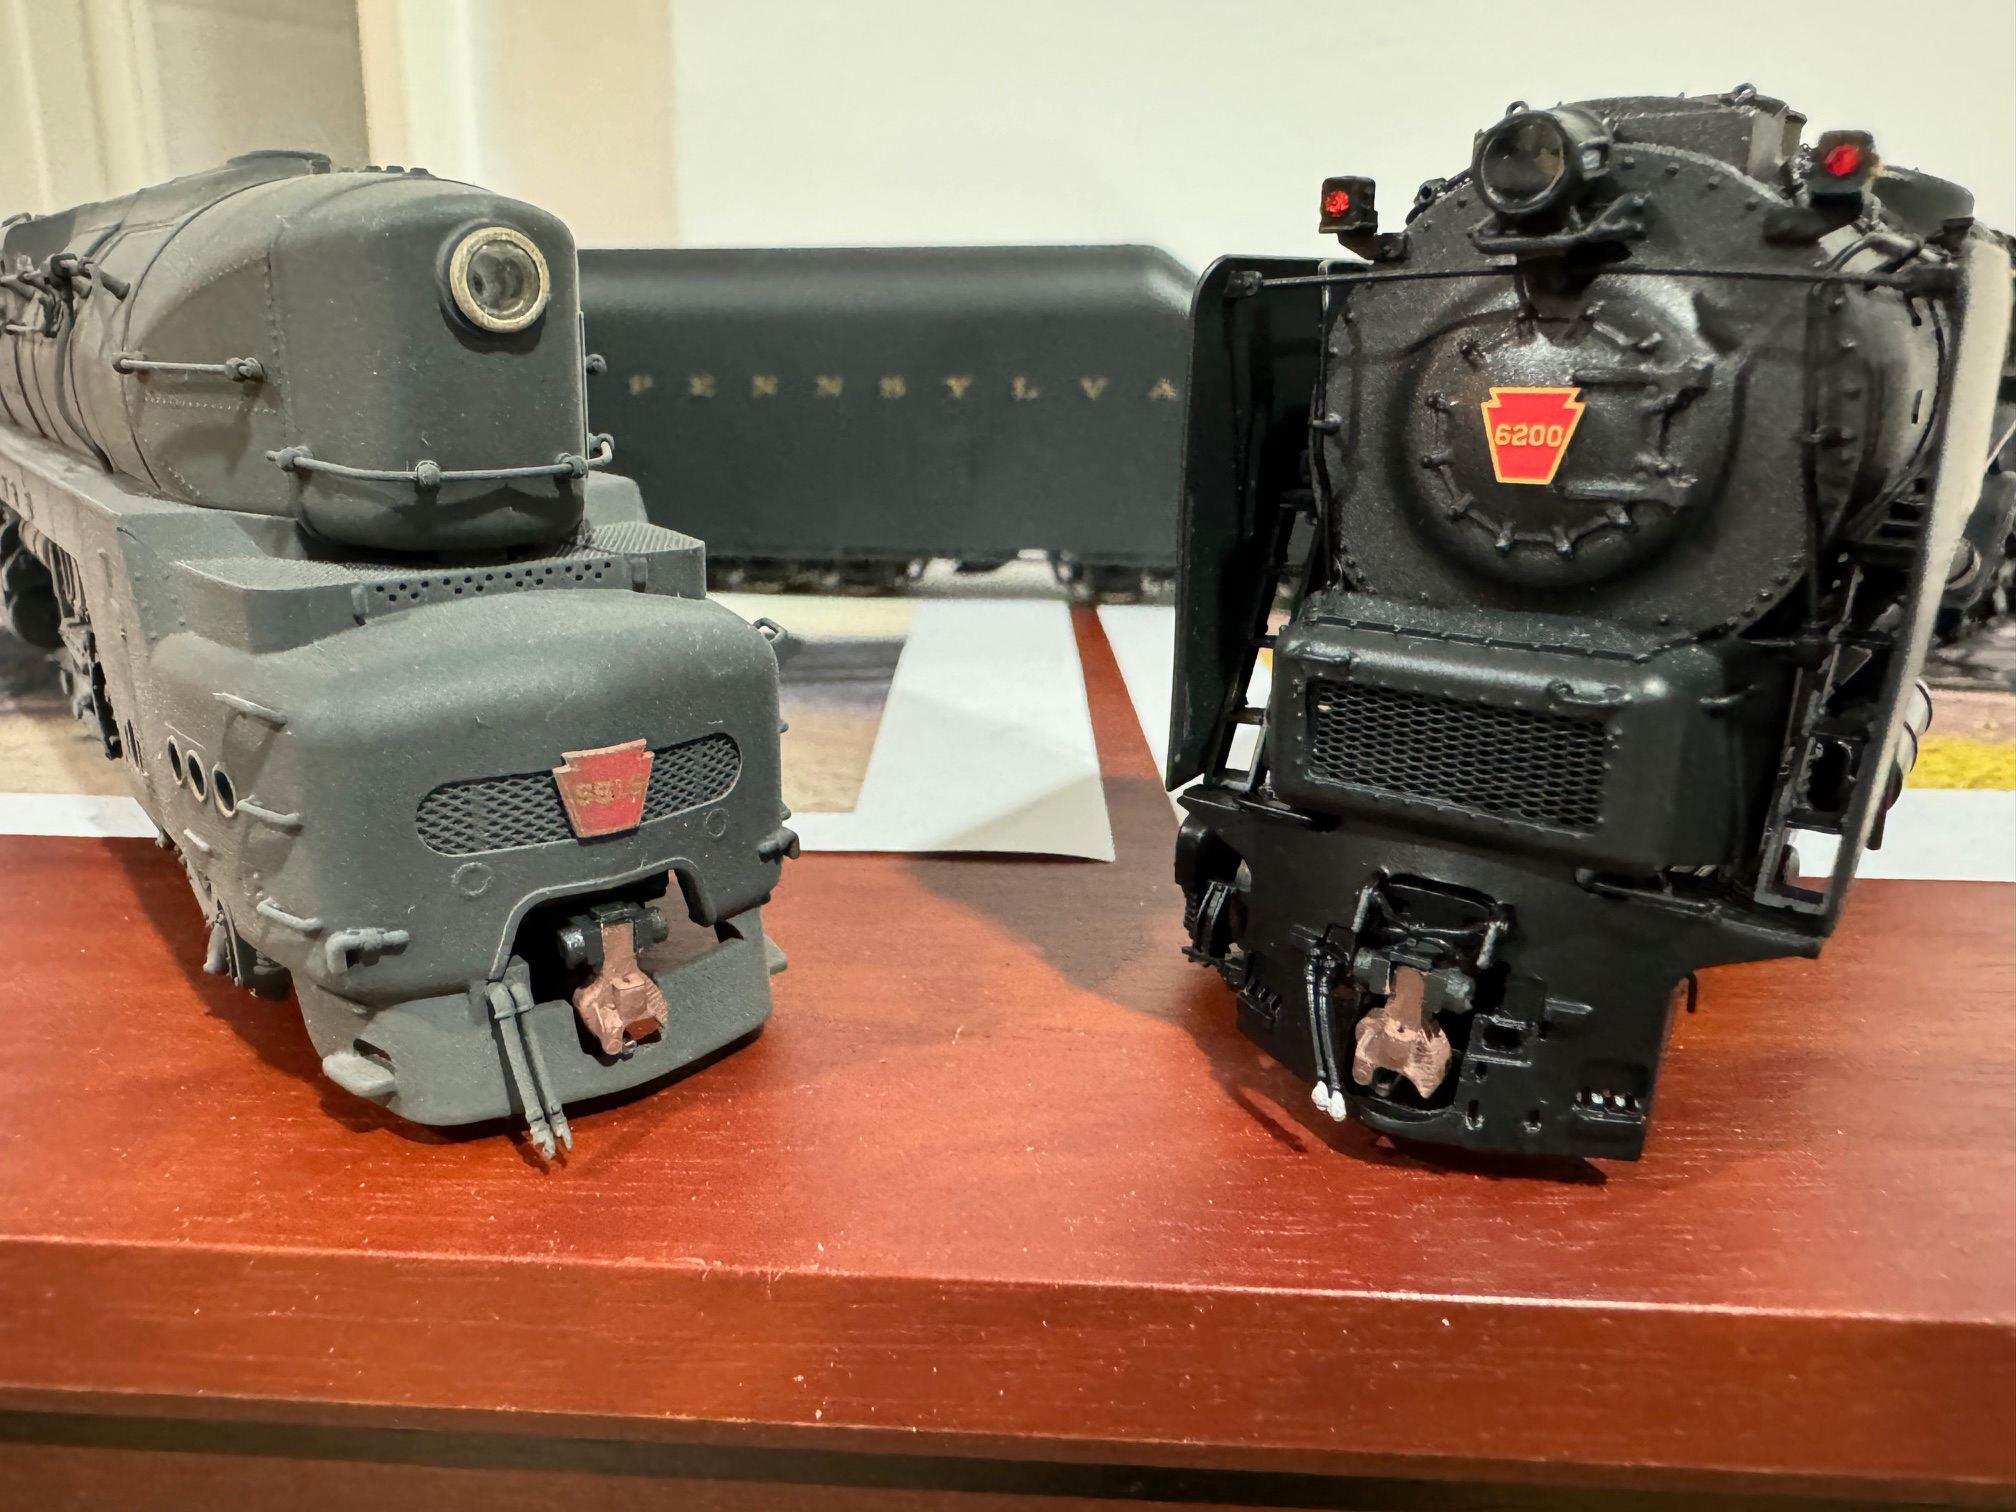
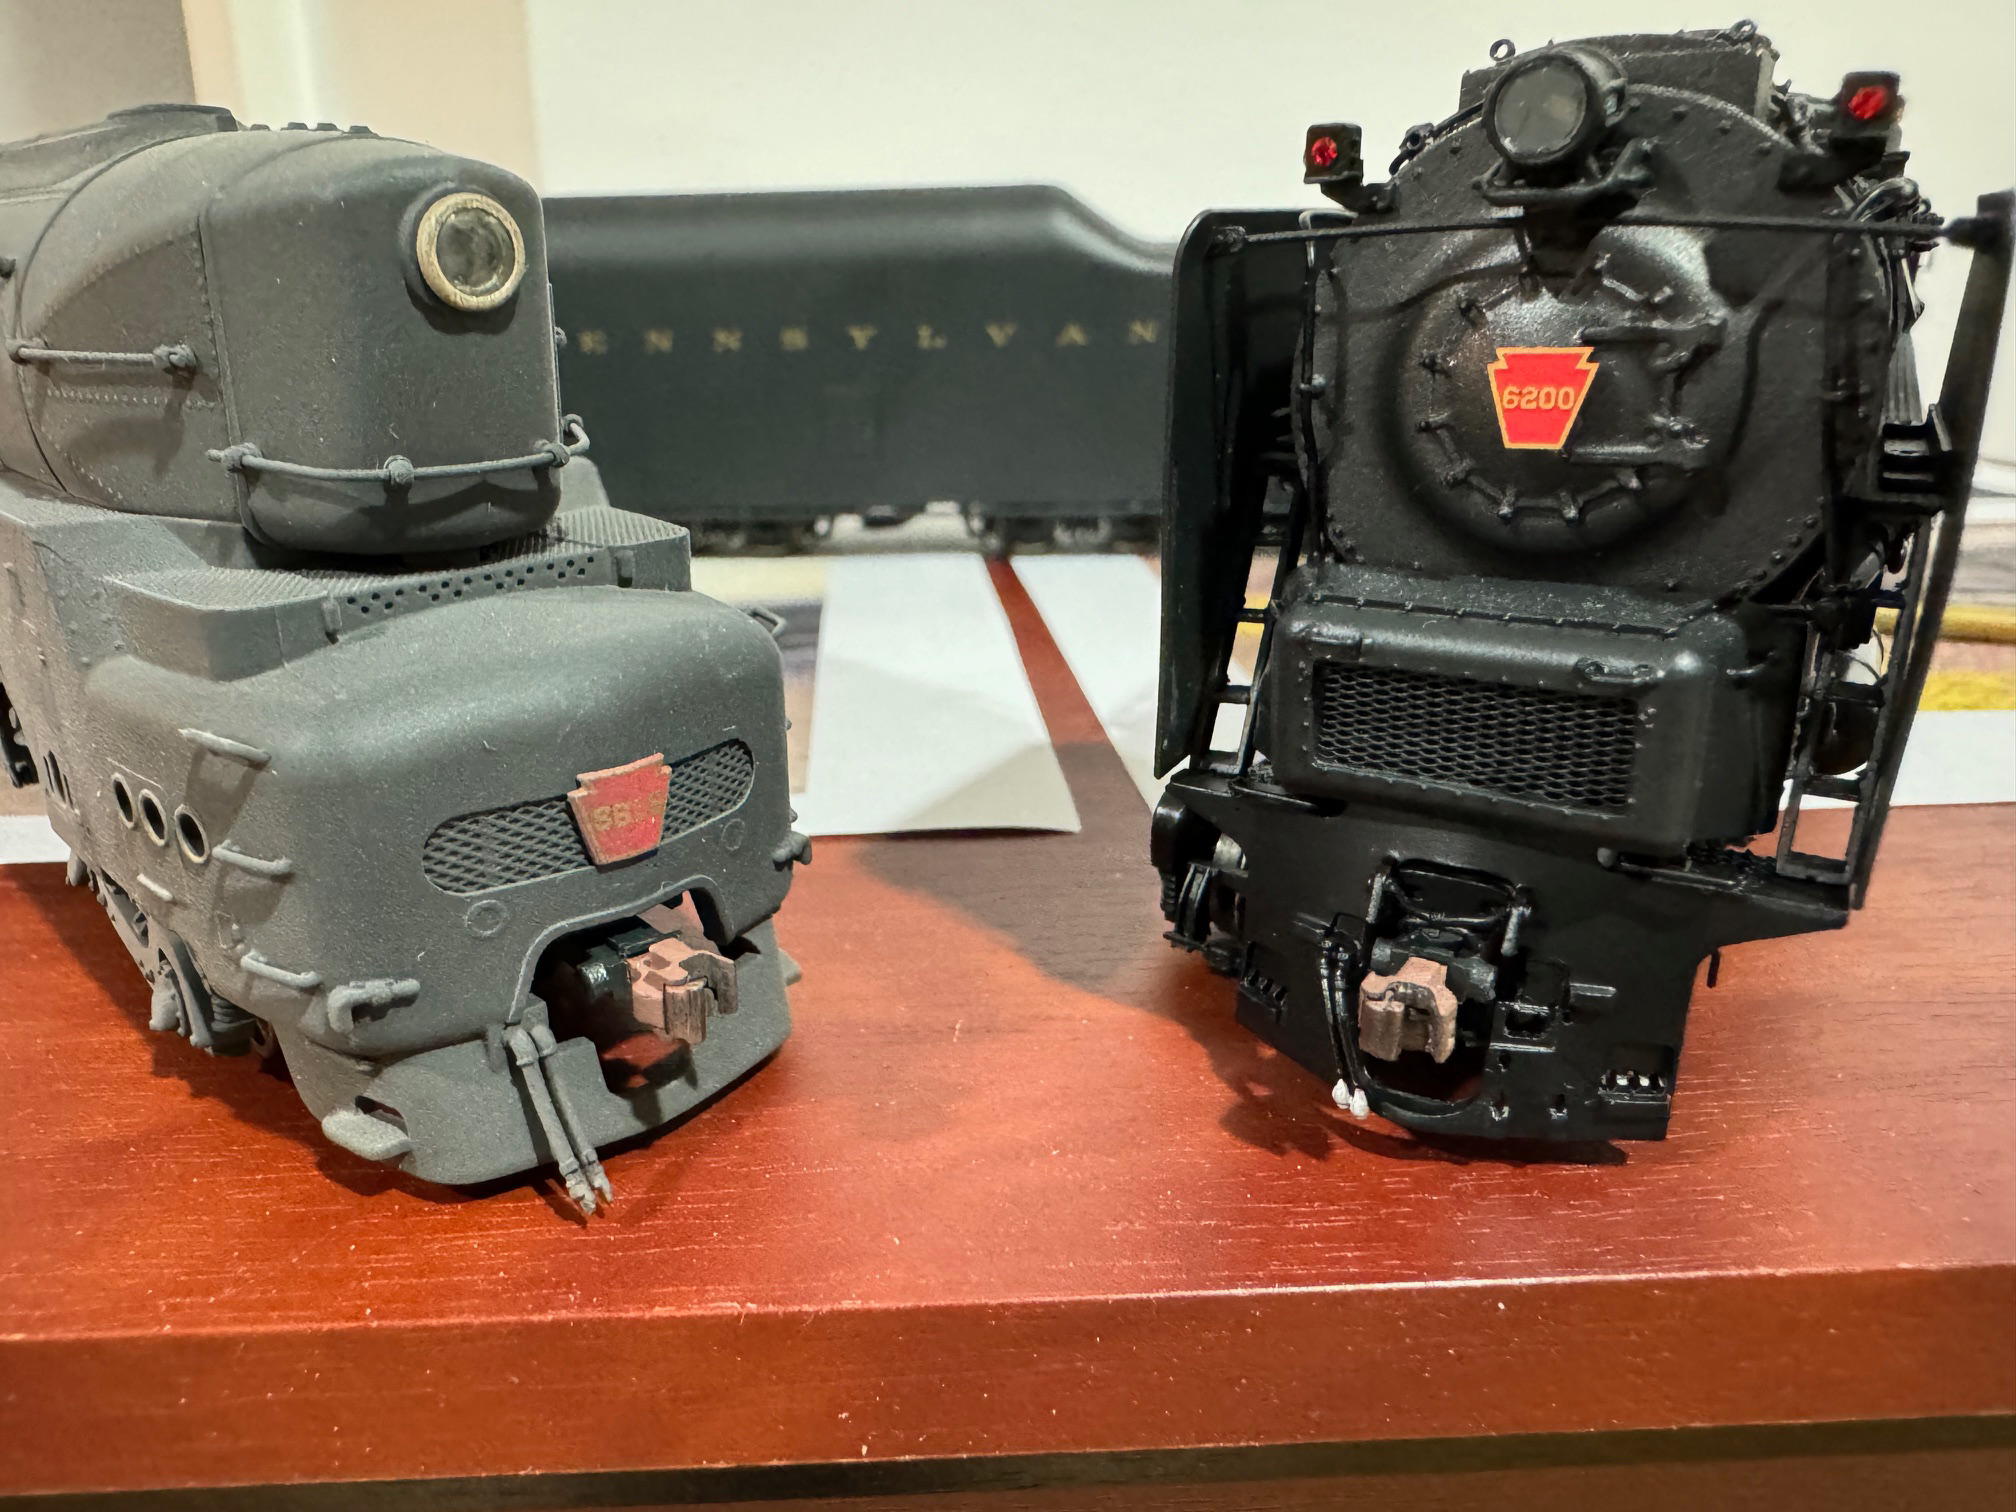
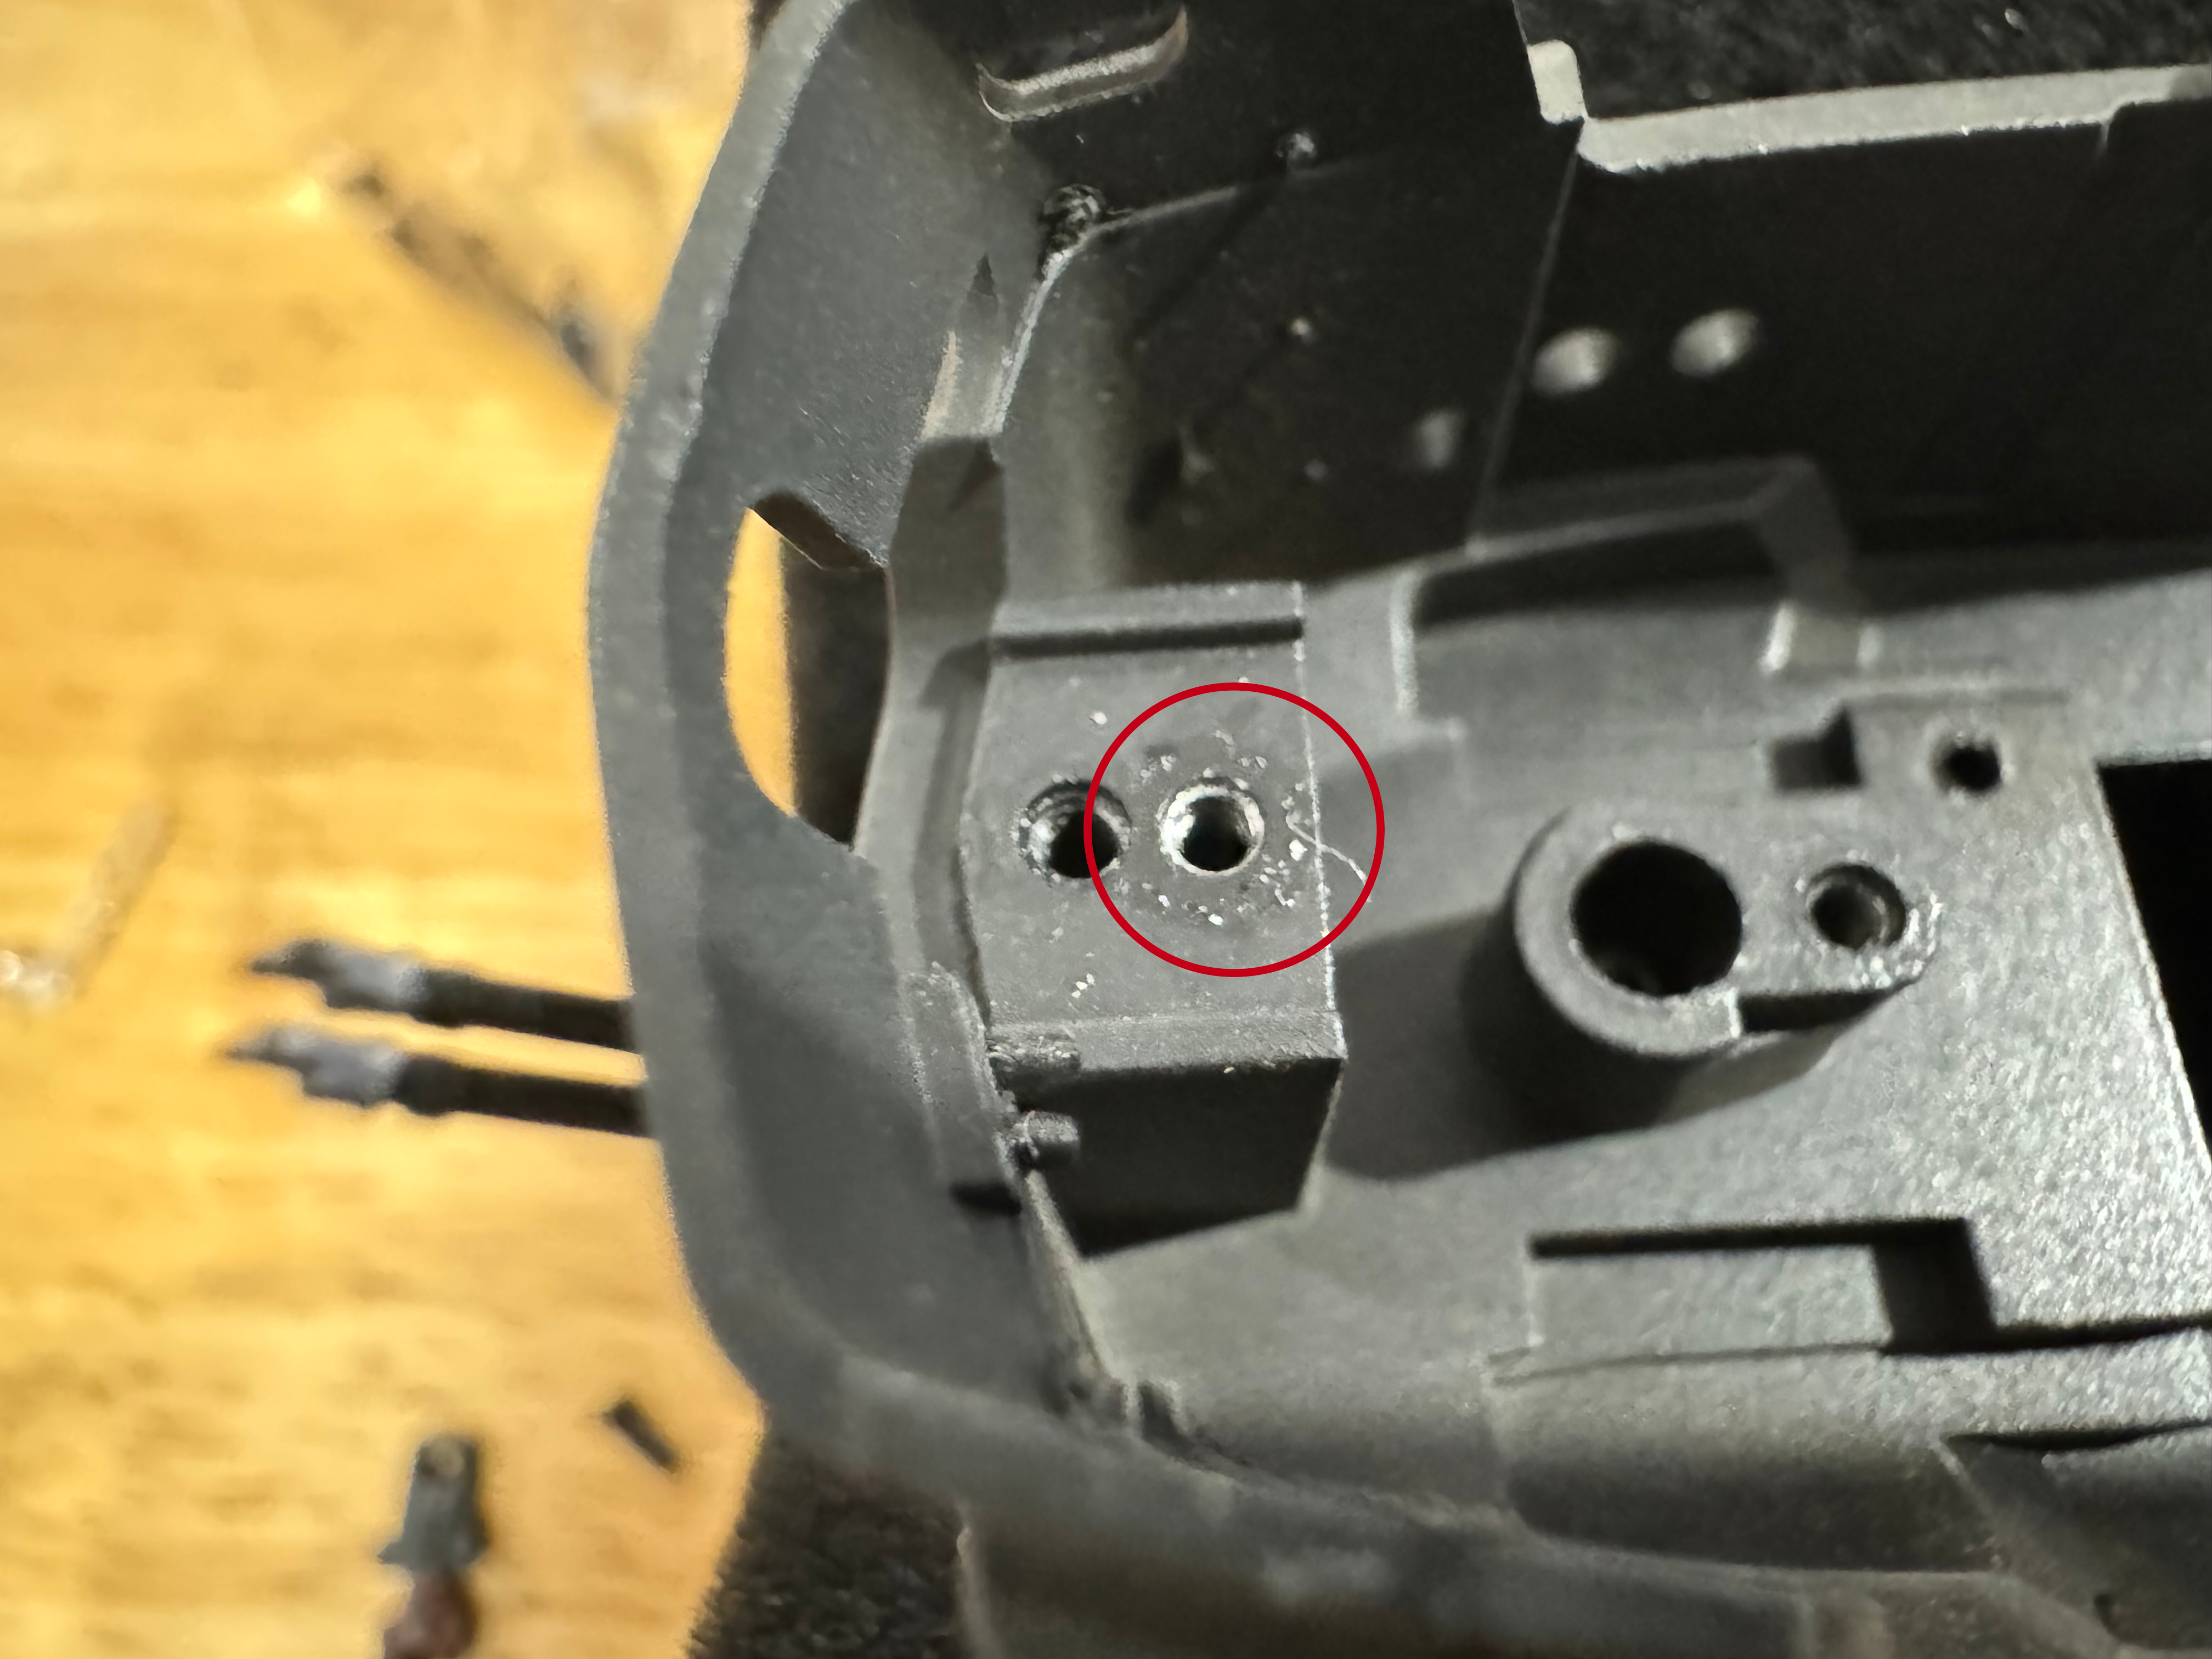
On the Paragon3 PRR T1 we found that using the normal pilot screw hole lead to the coupler sticking out further than it's prototypical counterpart. To combat this there is a hole right behind the screw hole for the factory pilot. We recommend tapping this hole with a M2 x 0.4 tap and mounting the coupler to this hole instead, using the factory screw. This will give a much better appearance as seen here: 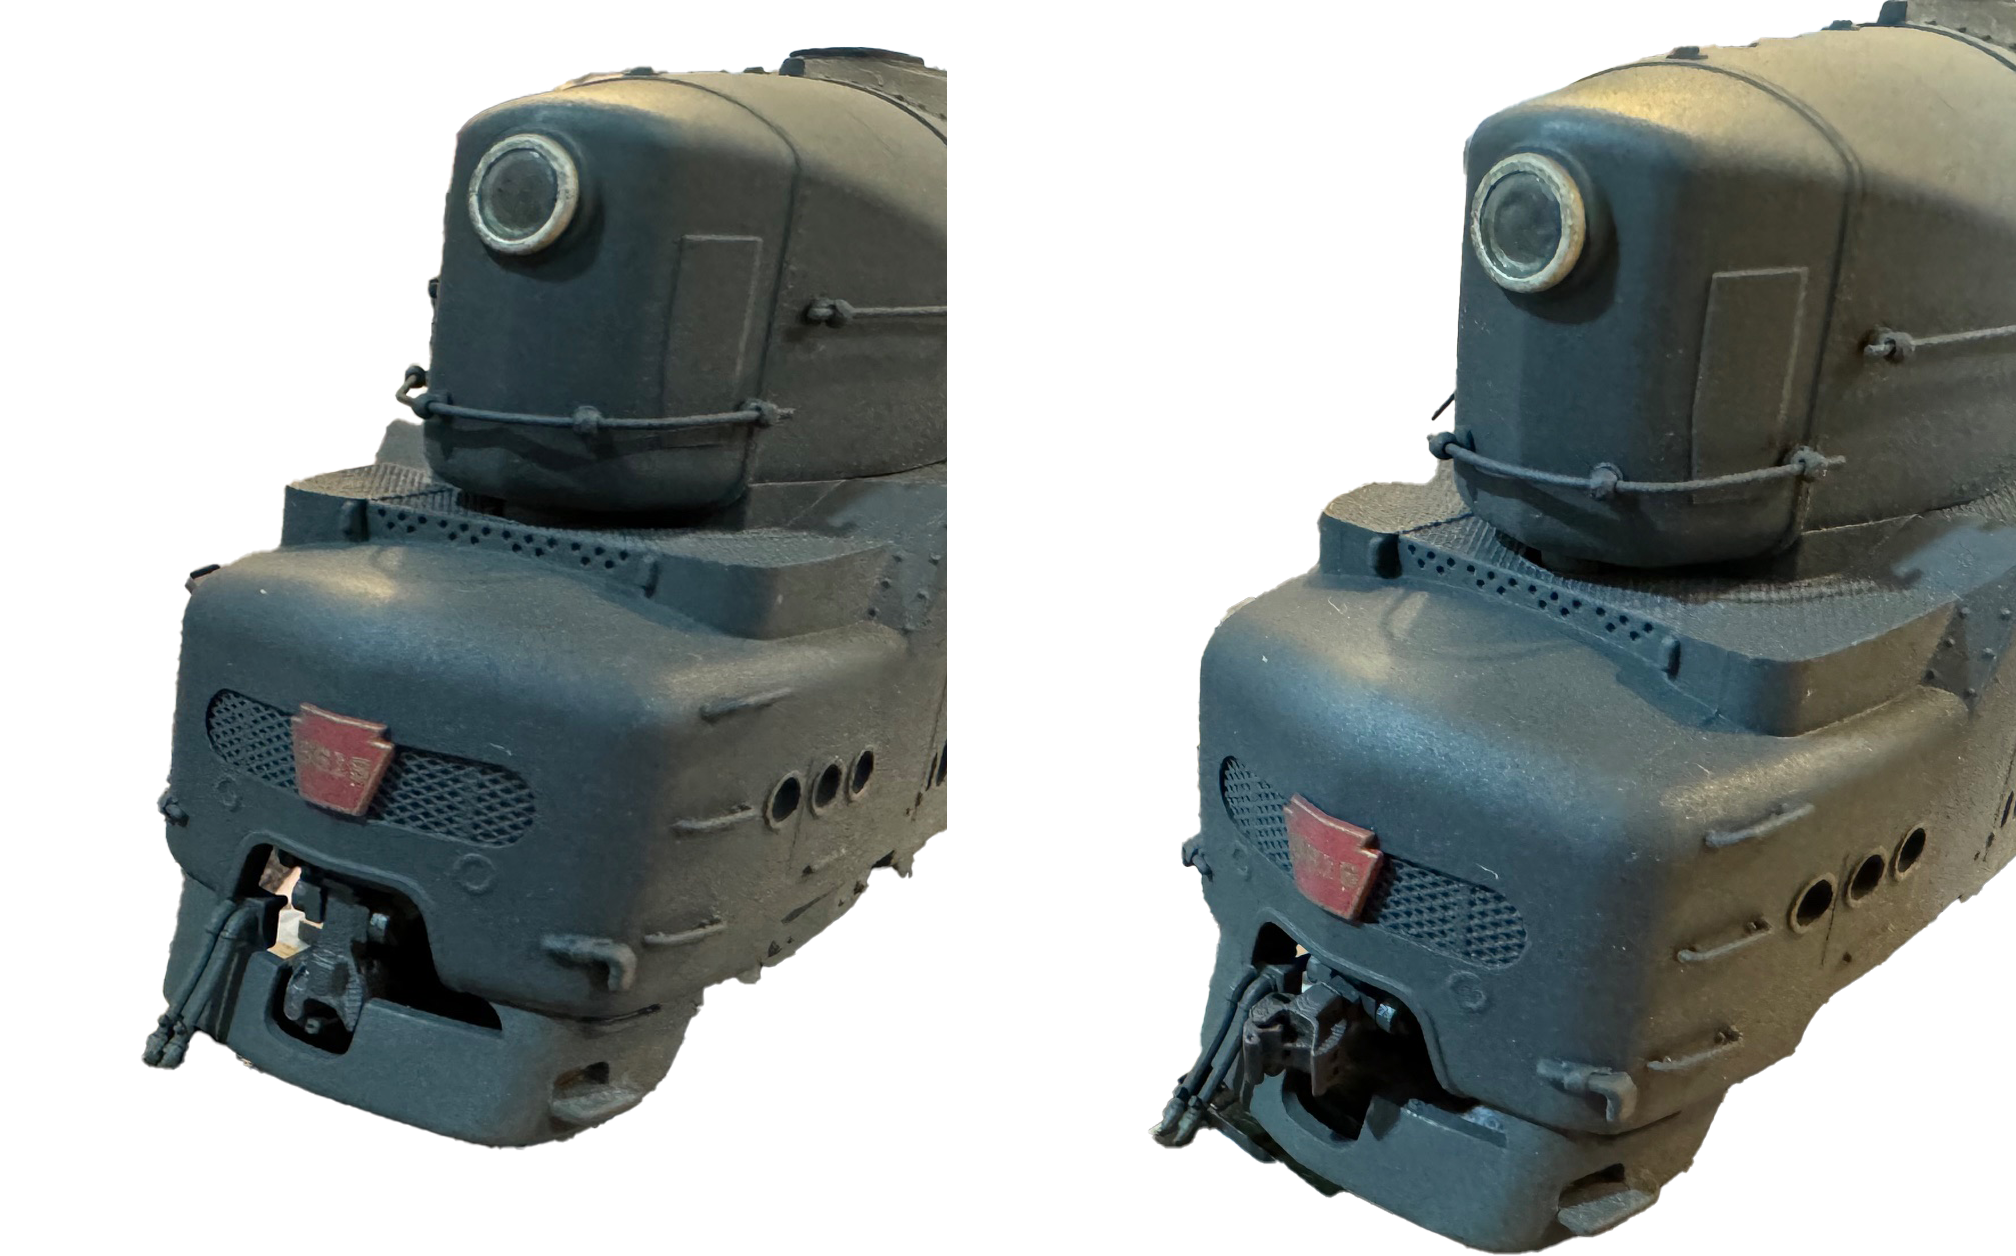
|
  |