Installation Tips - InterMountain Covered Hopper
This is a very impressive, highly detailed model. If you haven't seen one of these, check it out. Like many InterMountain cars, this one comes with KD #78 couplers installed. That makes the conversion to Sergents a bit more of a challenge than other cars, but the end result is well worth the effort.
| Before getting started, you'll want to ensure your cradle won't damage the delicate roofwalks on the car. I cut slots for the roofwalk so the car will rest on the roof, instead of on the roofwalk. | 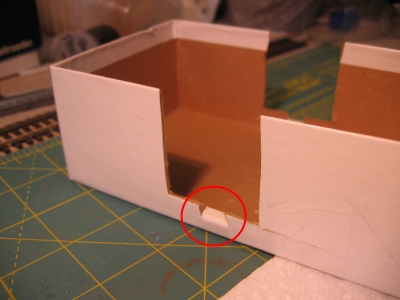 |
| Here's the first look at the model. Just look at all those end details! | 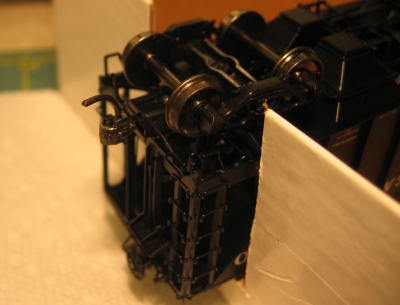 |
| Once the truck is removed, we see that the cut lever is actually glued to the bottom of the coupler box. It will have to be popped loose before we continue. This isn't hard. Press your thumbnail against cut lever right up next to the where it is glued on. Just a little pressure and it will pop loose easily. | 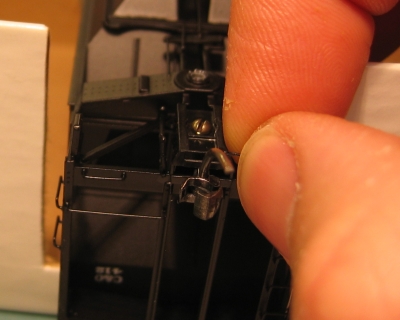 |
| Remove the screw that holds the coupler box. Then the box needs to be pulled up slightly and slid forward (underneath the coupler lever). The coupler and spring will likely fall out as you slide the assembly forward. Try not to loose the spring because it will be used again. | 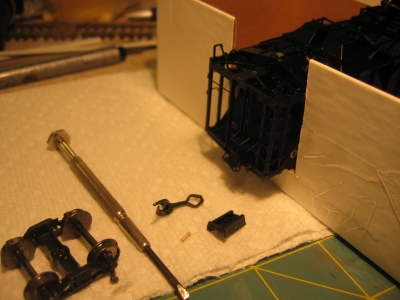 |
| The coupler boxes on the InterMountain car are the same boxes that Kadee provides with their #78 "Scale" Coupler & "Scale" Draft Gear Box. These will have to be modified slightly by cutting the point off of the mouting lug. See before and after photo. Note that this doesn't hamper operation with the #78 coupler in case you need to go back to those for some reason. The tool used to do this is shown below. | 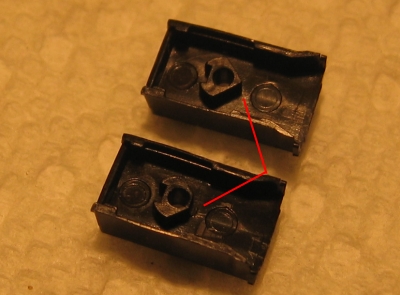 |
|
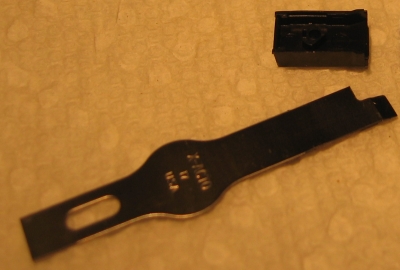
Here is the #17 X-ACTO blade modified specifically for this purpose. The blade is too wide initially, so I used an abrasive cutoff wheel in a motor tool to narrow it. The same thing could be done with a bench grinder. I actually have a whole collection of these modified blades - they're pretty handy. #17 blades are different from the common #11 blades not only in their shape, but also in the way the cutting edge is made. A common #11 blade has both sides beveled down to the cutting edge. The #17 blade has one side beveled and the other side is flat. That is important for operations like this. To make this cut, you'll want to position the blade straight up with the flat edge toward the mounting lug and the blade's bevel on the side of the point that we are cutting away. Try to just cut the point away and not cut into the mounting hole. |
 |
|
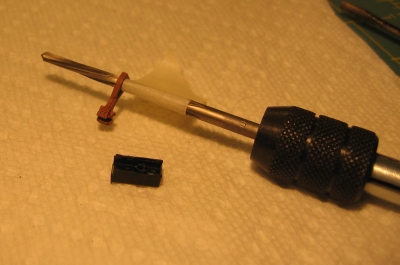
Now that the coupler boxes are prepared, we'll move on to the couplers themselves. The EC87 mounting hole will need to be reamed out to just fit over the mounting lug in the coupler box. Use a Sergent Engineering RM20 tapered reamer for this task. Work slowly for the first coupler. Ream, check, repeat, until a near perfect fit is acheived. Then put a strip of tape on the reamer to indicate the stopping point for the next coupler which can be done more quickly. For a more detailed explanation of the tapered reamer usage see the conversion here. |
 |
| The coupler shank will have to be thinned to about 0.057" so it can freely rotate in the coupler box. It a pity that the opening in Kadee's "Scale" Draft Gear Box is 25% smaller than prototyical heightwise. For the step-by-step procedure necessary to thin the EC87 shank, click here. | 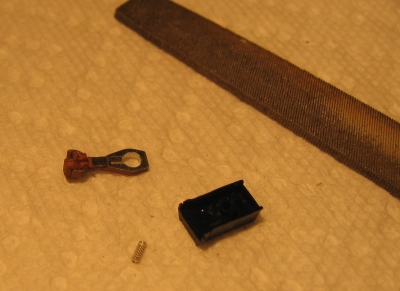 |
| Now it's time to install the coupler into the box. Use the centering spring from the Kadee coupler instead of the spring supplied with the EC87. The Kadee spring has a smaller diameter (which is needed for the small opening). | 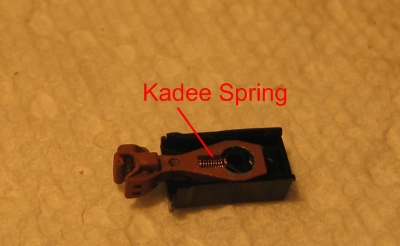 |
| Getting the coupler/box assembly back on the car is a little tedious. Turn the coupler box upside-down and let the spring hold the coupler in the box. Now pull the cut lever up a little to allow the box to slide back into place. Push the box down to seat it and replace the screw. |  |
| Here's the finished product. Pretty nice! | 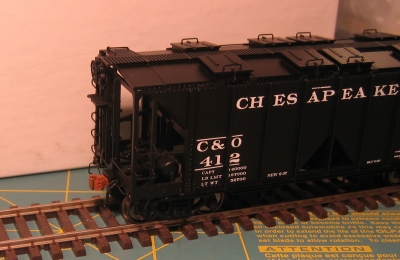 |